Turn on Cockpit — Ghostty is automatic, VS Code is optional
FEATUREVisible app capability.SETUPSetup or connection action.
Cockpit is a feature of the optionOS Mac app; you turn it on in settings. Claude Code and Codex sessions running in the Ghostty terminal are captured with no extra setup — the VS Code extension is an optional second source, needed only for sessions inside VS Code's own integrated terminal.
Once running, every agent session shows up in one live panel — working, waiting, awaiting your answer, all together.
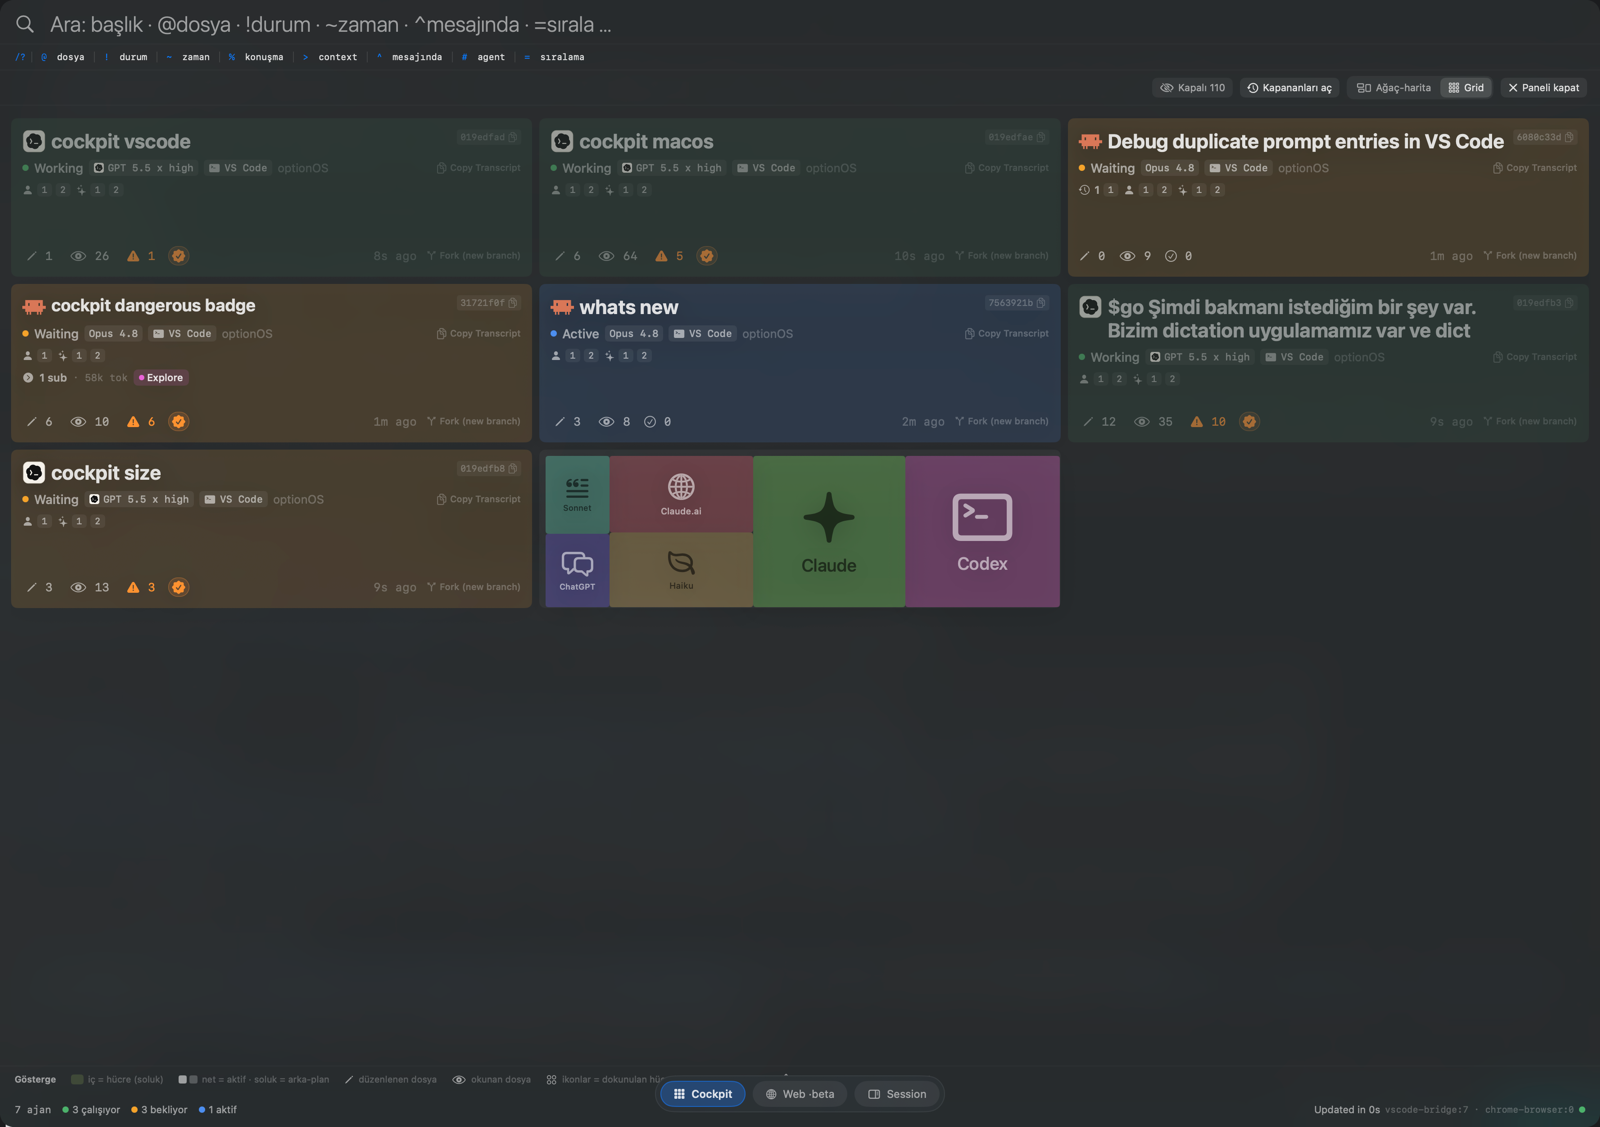
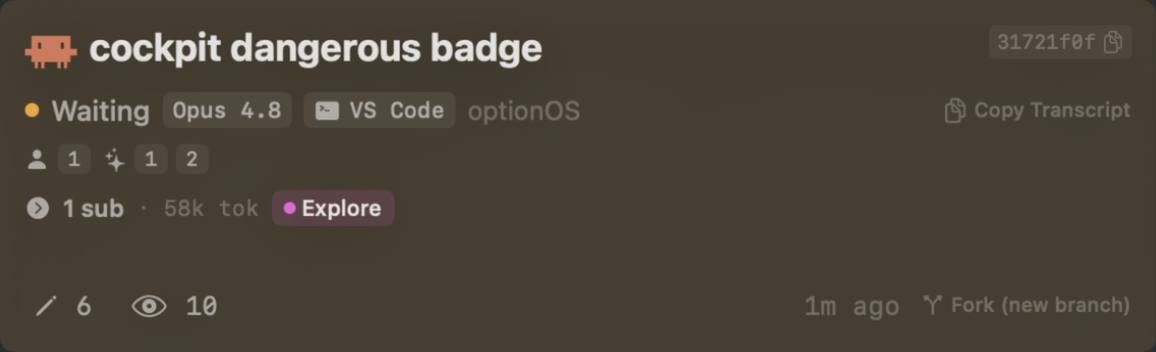
Every session is a card: its name, state, model, how many sub-agents it ran, tokens spent, files edited, age, and which branch it forked onto — all on one card.
Setup is three steps:
1 — Install and run optionOS. All capture lives inside the app; there is no separate service or bridge to set up.
2 — Turn on Cockpit in settings. That single toggle does the rest: Claude Code and Codex hooks are written automatically and Ghostty monitoring starts. Every agent session you open in Ghostty from that moment on appears in the panel.
3 — Grant permission. Ghostty monitoring needs macOS Accessibility/Automation permission; approve it once when the app asks.
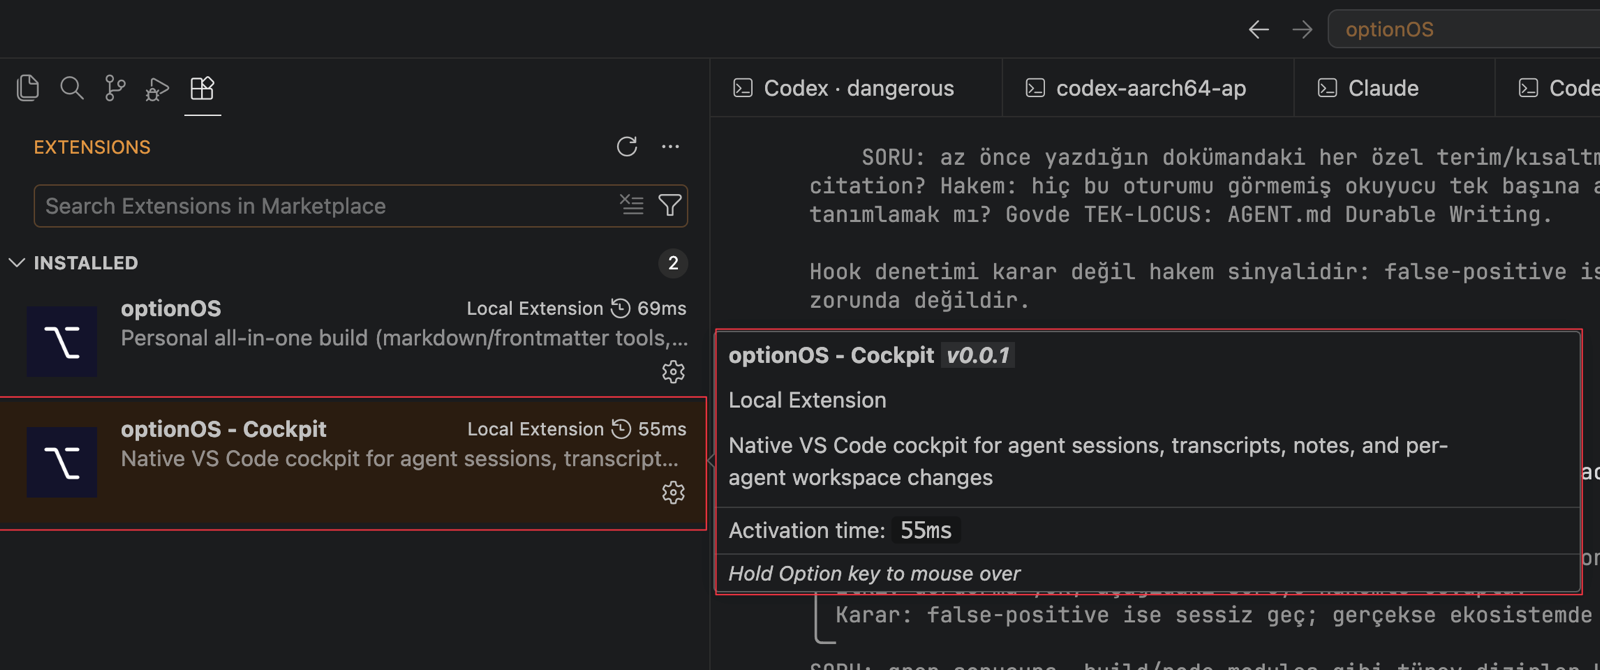
Optional — VS Code integrated terminal. If you also want sessions running inside VS Code's own terminal on the panel, install the optionOS - Cockpit extension, open your project as a workspace, and run optionOS - Cockpit: Install from the Command Palette (⌘⇧P); this setup is per-workspace. Doctor lists every piece as GREEN/RED, Repair fixes, Uninstall undoes. The Mac panel shows Ghostty sessions independently of these steps.